In which it's not the evils and miseries of the world that are released, but so many wonderful curiosities are discovered that it's difficult to keep my mind on the main aim: doing everything I've been asked to do in Chapter 4. This mindset is off course the result of a number of things -- a long lay-off and loss of momentum, paper making being newish ground (though the day spent paper making with Jean Hart Mould was invaluable), a predilection to enjoy one aspect of any new craft and loop round again and again exploring only that. In my defense I've been reading Helen Terry's blog in which she suggests doing "at least ten variations of an idea, working quickly and encouraging the ideas to flow".
As ever my tendency to leap forward to my resolved sample is present, but it is exciting with each chapter and each technique to catch glimpses of what might I might use for that sample. I'm sure I'm not alone in this?
I also need to add a reminder that at the back of my mind is the watery world I explored in Module 2: the patterning on fish and their movement through the water, the North Sea and in addition the world of herring girls. So many thoughts: too many thoughts.
* * *
Looking back at my last blog I mention more embedding, making paper on a range of meshes and adding shapes to paper. And yes I will come to them, but not yet: embossing is currently my thing. So what I've done is revive my tissue paper pulp which had been carefully stored in the fridge, washed it and made a new paper-making tank.
 |
| 4:4:7 |
 |
| 4:4:8 |
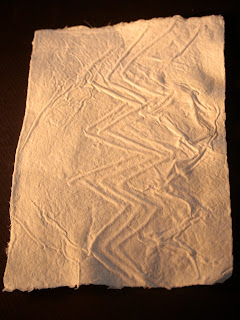
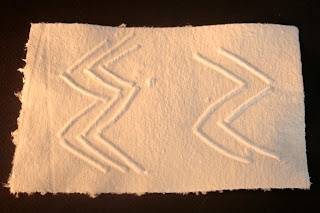
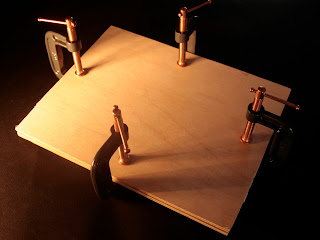
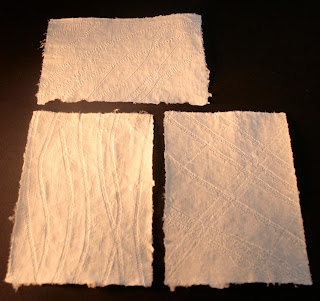
In February I cut pieces of cord-like string, I arranged them to create zigzags down the wet pulp- paper to create some rhythms reminiscent of the movements in water. Though the imprint was clear and actually quite pleasing, the thickness of the string was such that the rest of the sheet of paper became distorted and other random ripples also appeared. This too was the case with thinner cord more randomly sprinkled. Two explanations occured to me: firstly the paper was too thin, secondly the pressing process was inadequate. Based on this second thought I set out to make a press with ply-board and four D-clamps. Images 4:1 and 4:2 illustrate the difference when a paper press is used.
 |
| 4:4:9 |
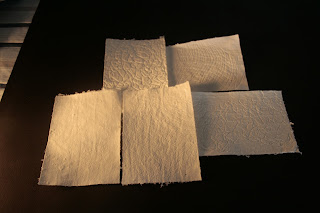
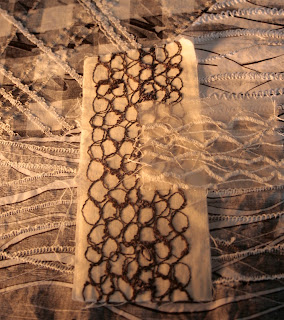
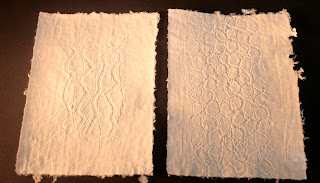
My first experiment with the press was to try embossing paper with a range of nets, both knitted in two different thicknesses of string and collected, for example fruit nets in plastic and man-made fibre.
 |
| 4:4:10 |
Continuing the watery theme I looked out some samples from Module 2. Below are five machine embroidered samples: they all have raised surfaces created by using a range of thick and thin threads.
 |
| 4:4:11 |
 |
| 4:4:12 |
 |
| 4:4:13 |
The embossing is really successful producing beautiful subtle and results on the delicate tissue paper however, I wonder whether it will be possible to reuse the embroidered surfaces as the press will have flattened them considerably.
In another experiment I used stitched "fishy" patterns. These designs are simple and stitched using upholstery thread.
 |
4:4:14
4:4:15
|
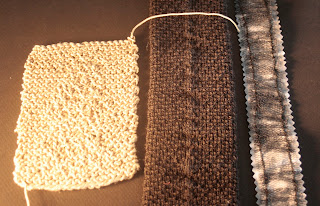
In a further experiment I used a knitted string sample using the pattern on the left in Sample 4:4:14, a silk knitted tie and Module 2 ribbon made from gathered net. These, however, were insufficiently well-defined or varied to make an interesting imprint, as are the two sizes of bubble pack in 4:4:17, though the smaller scale imprint works better.
 |
| 4:4:16 |
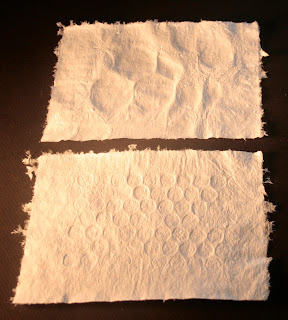 |
| 4:4:17 |
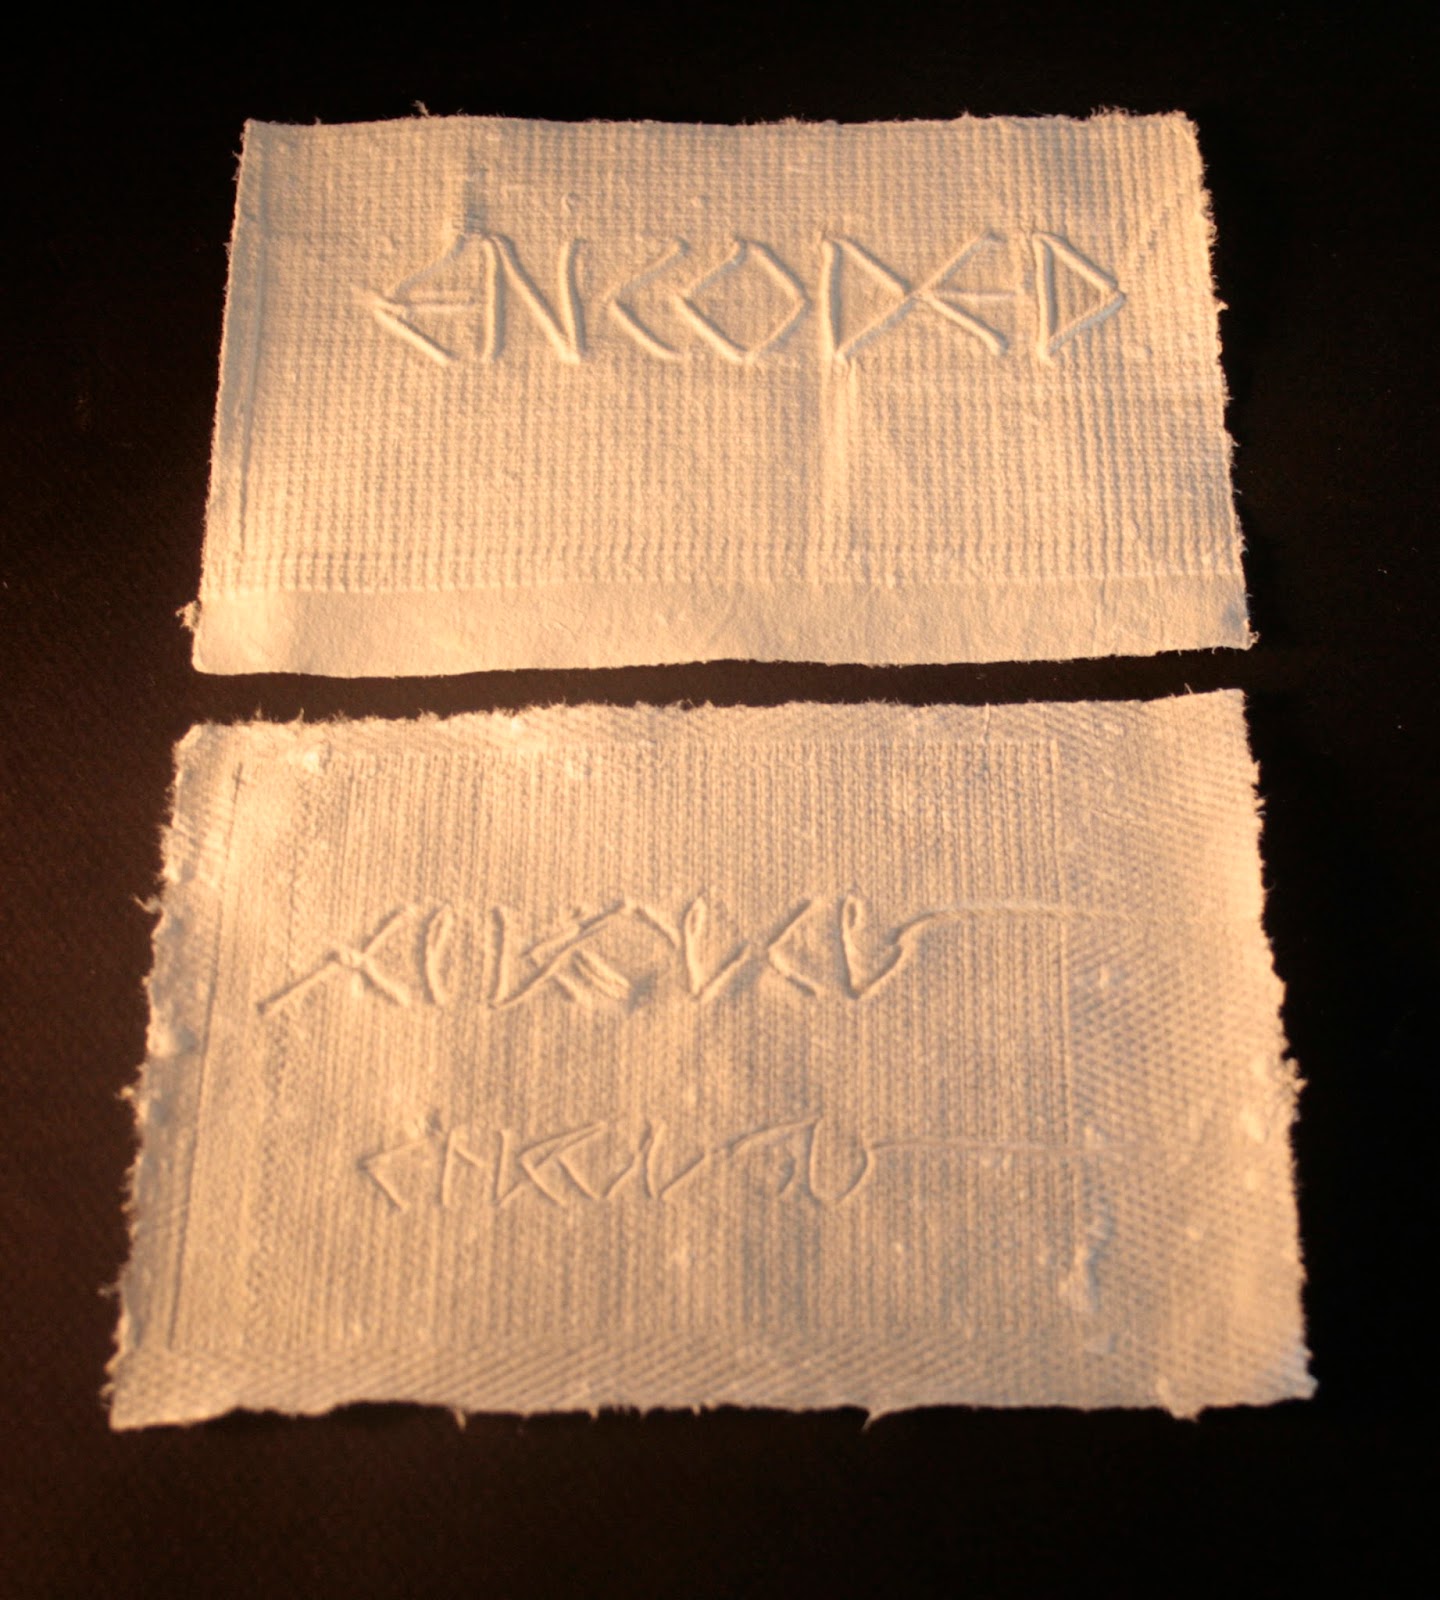
More successful still were the letters which I'd stitched on canvas, again with upholstery string.
 |
| 4:4:18 |
Reviewing the samples above a number of things occur to me: firstly that the surface being used to emboss the wet paper pulp needs to have sufficient interest that lights and shades are created by the pressing process; secondly, that screwing down the press too tightly is likely to compress the embossing surface too much thus removing the opportunity to create light and shade. It does of course depend on how the paper will be used and much more experimentation is needed to be sure about how tightly the D-clamps should be screwed down.


