Sunday 27 January 2013

Chapter 10: Piecing - A Method of Cutting and Seaming

As I've remarked before I've been working on Module 2 for some time.  Recently, however, I've settled into a more productive phase and I'm beginning to feel that the joys of making my collar are on the horizon.

When I started this module many more samples of the paper method were given, the final two quite challenging to accuracy.  Thankfully, though attractive and certainly food for thought, only the two below are now needed, though as I have plenty of photocopies left I may try to achieve the final stages of those two.


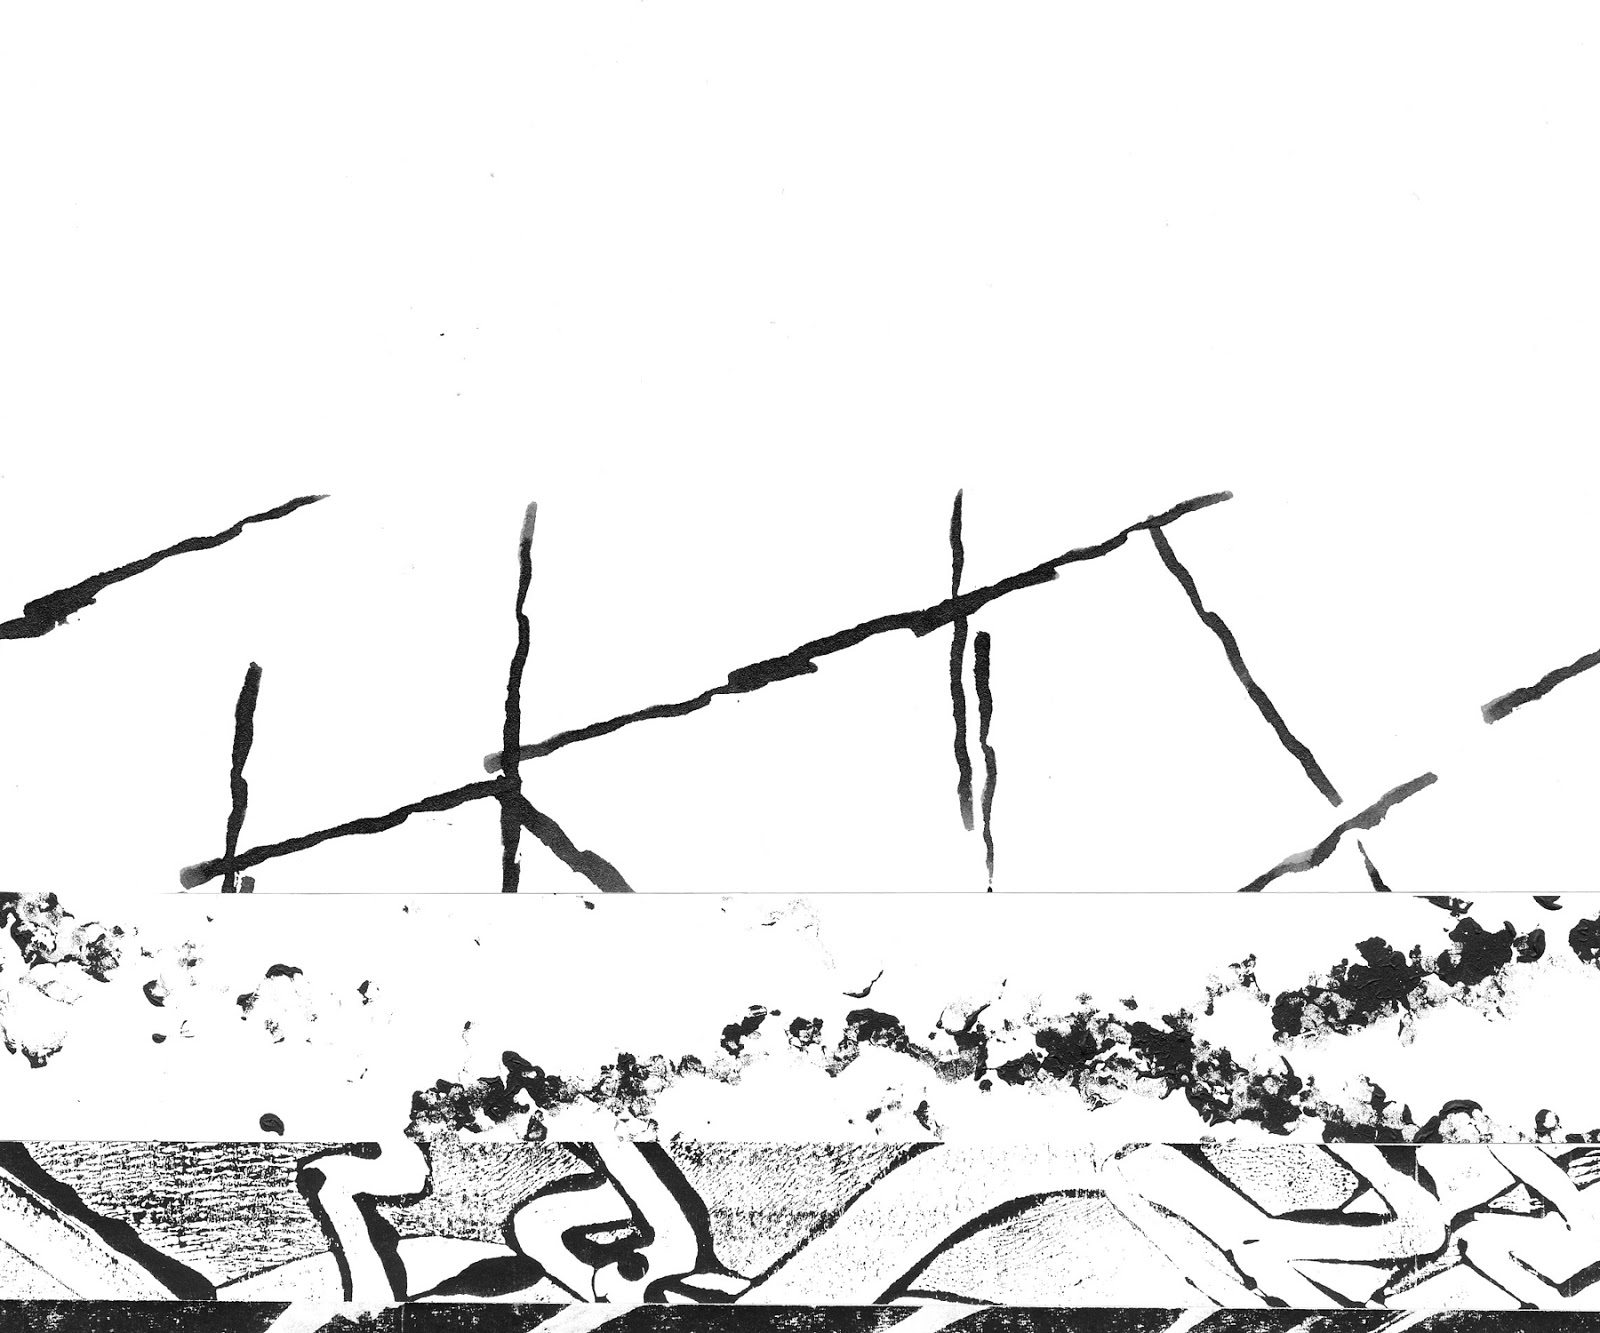
 Paper Sample 1: Keyboard


Paper Sample 2: Chequer Board


Fabric Sample 1: Mosaic Pattern

Interesting effects are achieved by this method: ragged star shapes are created by the intersection of many seams.  I think I may have cut some diagonals too sharply, resulting in very ragged outside edges which were difficult to reattach and seam, although rather nice irregular tassels hung off those edges.  Had I cut the sample differently I could have seamed and re-seamed far more.  A further interesting touch was using black thread on the spool and white in the bobbin creating a maze of random lines.

Friday 18 January 2013

Chapter 9: The Fibonicci Sequence and Golden Section

A challenging task: I wanted to use the whole black/white tonal range, but found I didn't have the necessary paper stepping stones.  Instead this is a section of the range.  I used Photoshop to convert the bleached papers to black and white so that I could check the results and adjust my paper choices.  I also tried to use papers with a sense of movement, and in fact wanted to use a number of papers with similar makings, however I simply didn't have the range of tones.


Design 1: I tried to use a mid to dark range of tones.  The 5cm square needs to be darker.  Using brown grey tones alongside black ones has complicated the matter.


Design 2: The Golden Section, squares arranged corner to corner to create the spiral.


Design 3: I had hoped this would be an outwardly curved spiral, instead it is as above, using only the 13 cm to 1cm squares.

Of course there are many more possibilities, but time to move on to Chapter 10 and back to the sewing machine.


Series 4 starts with any of the blocks used previously. This time they are cut at 45 degrees and then rearranged.in any way, reminiscent of the Seminole paper and fabric made in Chapter 7.

Design 12: Wider strips result in a hole in the design.


Design 13: In both designs 12 and 13 I have used the lines to make links in the new arrangement of strips.


Design 14: This design uses darker tones: beautiful juxtapositions resulted.


Design 15: Paper strips were positioned using strong diagonal bands. 


Design 16: A much more fragmented design, leaving room for further embellishments.


Design 17: Again paler tones give the opportunity for further embellishments.
Series 3 based on a longer block.

Design 9: A new Fibonacci block, photocopied with darkest ends placed together.


Design 10: The above block cut into equal width strips and reassembled with alternate strips slightly higher to form a fractured design.


The cushion design above was based on a postcard of Amsterdam.  The image showed a bridge with the buildings along the canal reflected in the water.  I used ideas from a book on bargello patchwork to create the design.  As I worked on Design 10 I was reminded of this cushion, although the width of the fabric strips do not conform to the Fibonicci Sequence but try to follow the colour proportions in the image.  The position of the fabric strips is also adjusted much more than in the paper sample.


Design 11: Creating a log cabin design using strips from Design 10.  I wove some of the strips through each other which disguises the strip's pattern.
 Series 2 uses one plain and one patterned paper, both ut  in the Fibonacci Sequence.
I used Pritstick and PVA glue, the latter wetting the paper far too much and stretching it (one learns!).


Design 4: Arrange the strips alternately, one in reverse Fibonacci order.


Design 5: The above is now cut horizontally in Fibonacci Sequence and re-arranged on black paper with gaps, again using the Fiboacci Sequence.


Design 6: The above is finally cut vertically in Fibonacci Sequence and then arranged out of order and flipping alternate strips.

Design 7: Both Designs 7 and 8 use some of the above processes, but in papers from the opposite end of the tonal range.

Design 8:
I really enjoyed doing the design exercises based on the Fibonacci Sequence and Golden Section, though I wish I'd duplicated some of the papers early in the module so that I had more choice to use in my designs.

Series 1 starts with a tonal column made from four patterned papers.


Design 1: (in fact one produced after this series was complete as I forgot to scan it before cutting)  Dynamic and atmospheric -- almost a coastal abstract, the play of light on water, even masts of boats, running towards deep ripples.


Design 2: The gaps seem to energize the composition:mind and eye bridging the gaps.


Design 3 (i): Cut in the Fibonacci Sequence, but placed in a different sequence, alternate strips reversed.
The central horizontal panel still catches the eye -- strong lines, high contrast, the eye drawn towards the bottom right where the pattern is most dense.


Design 3 (ii): A second version of the above using darker tones.  Again the broader block of pattern draws the eye.

Tuesday 15 January 2013

Puzzlers

Have you ever heard of "Puzzlers"?  No, I hadn't either until a few weeks ago when I read "Stasiland Stories from Behind the Berlin Wall", and there they were men and women grappling with the aftermath of East Germany's determination to rid itself of its accumulation of records gathered during the Cold War. When it became clear that the Berlin Wall would fall endless documents were shredded, others torn by hand.  Some were burned, but many sacks of fragments remain and it's the job of the "puzzlers" to piece them together. Their work makes a window into an oppressive world, it may also give to some an explanation for the course their life has taken.  I say only "some" because just 31 workers are employed in this work.  Given that one "puzzler" can reconstruct ten pages a day, and that sounds speedy to me, to reconstruct everything would take 40 workers 375 years.

As I worked on Chapter 9, puzzling my designs together, I was reminded of the dramatic change the fall of the Berlin Wall had made in our family's life and how very fortunate we have been.  The review describes "Staziland" as reading like a novel, and I'd agree with that.  Do put it on your reading list and I hope the stories you read make you, like me, count your lucky stars.