Collect abstract patterned black and white cotton fabrics.
Pattern your own fabrics using Shibori and Monoprinting.
Wednesday, 30 May 2012


More folding with elastic bands, both horizontal and criss cross to hold the fabric. In spite of putting more dye into the solution, when washed the colour is no deeper. However, the markings are attractive, the lower image reminiscent of mackerel skins.

One drainpipe was tied with elastic bands the second with raffia. Even though the raffia did not grip the cloth so tightly when it was pushed together the markings are attractive and only a little less defined than with elastic bands.


When released from from the bindings and drainpipe the dyed cotton fabric is crisp and almost sculptural in quality -- a shame to wash it.

Fabric fastened round drainpipe with elastic bands.

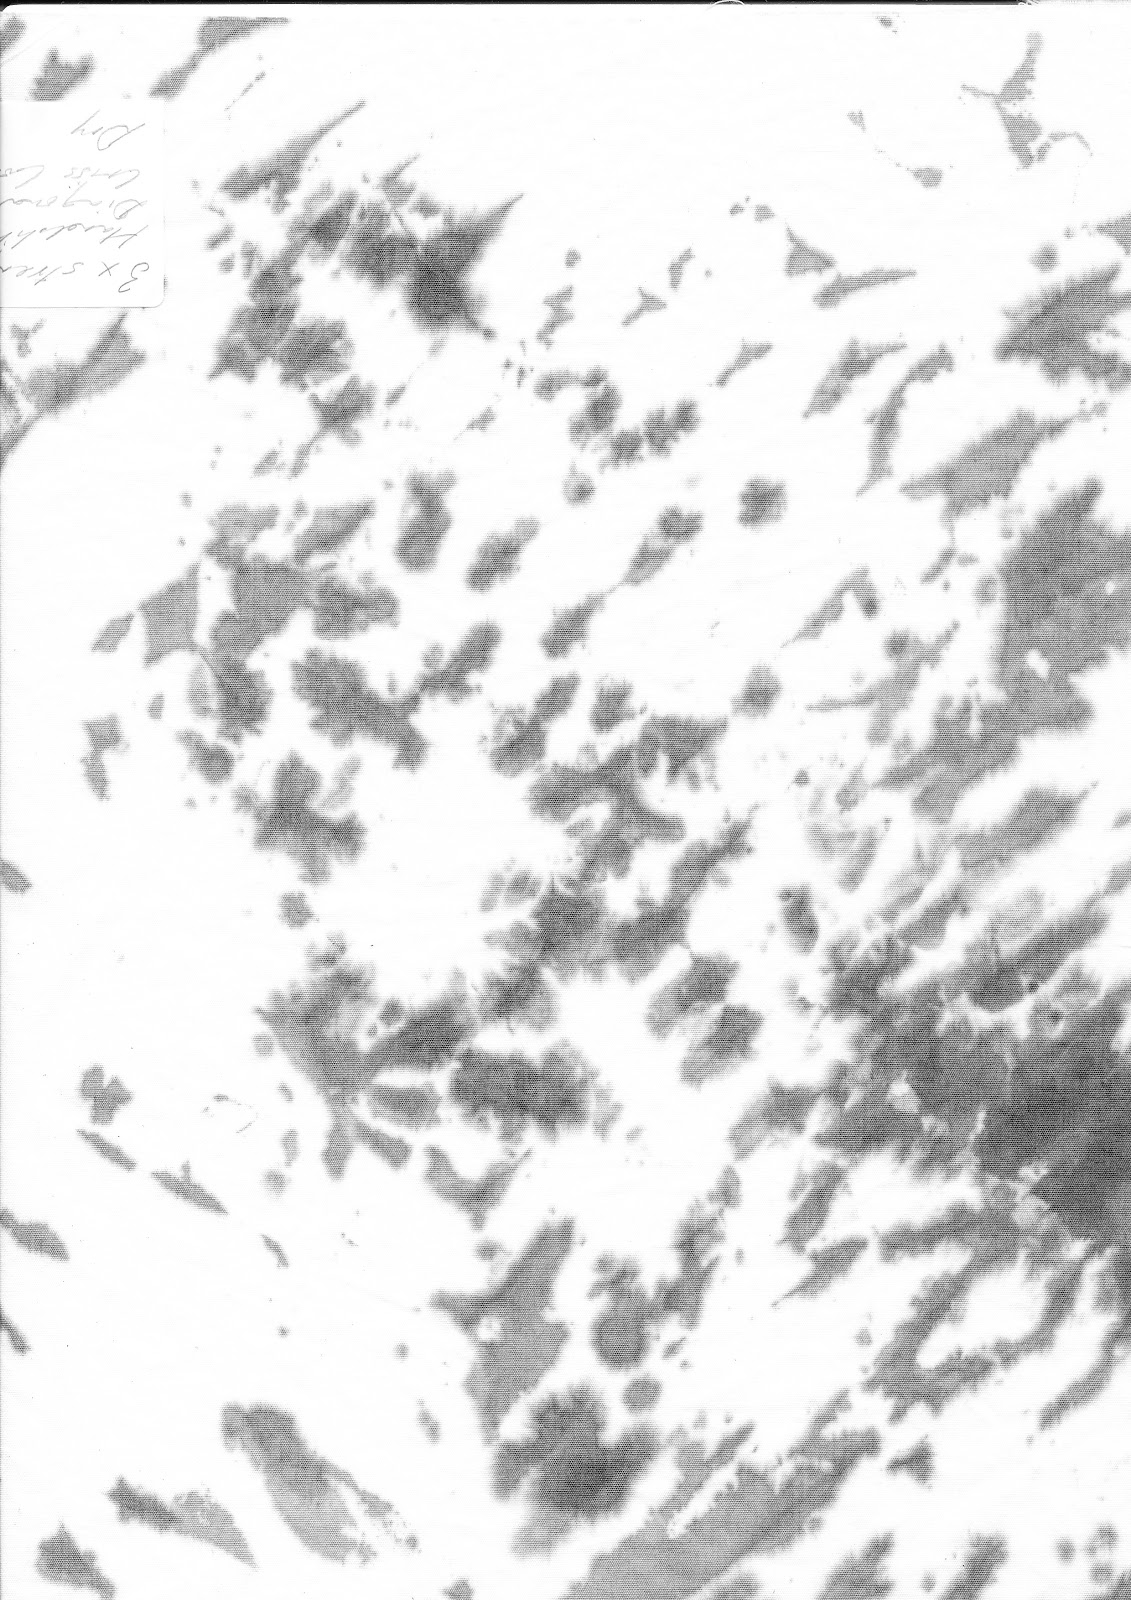
Fabric fastened round drainpipe with raffia.
Below are samples which have been pinched and tied with elastic bands (bottom left) or hand or machine stitched. As with all the previous samples the fabric was dry before adding the dye.


After the stitching was unpicked, but before washing.

The samples below are after washing and ironing.
The fabric above was pinched and tied with elastic bands.
Handstitched cross-hatching.

Rolled and criss-crossed with elastic bands.
Looking back over three days of experimentation (these are just examples of what was produced) whilst the patterns produced are attractive I have not managed to achieve a good range of tones. Not only does the dye appear blue, but in spite of making a fresh batch of dye each time and increasing the strength of dye used there is little difference in the results achieved..
Thinking through the three dyeing sessions so far, I am disappointed. In spite of adding more dye mixture each time to the soda/salt solution the tone hardly varied. It could be a number of things: quality of the dye, the fabric, human error. I didn't think using the same recipe and instructions again would get me anywhere, so remembering a workshop called "Dyeing for the Terrified" with Yvonne Brown I dug out her notes and put them to the test. I sent for Synthrapol (for the final wash) from Art Van Go and had a really helpful discussion with Janice, who advised finding a really good dye recipe and sticking to it.

First I made a set of tonal samples. So far so good.
Then I tried applying the strongest mixture to more prepared stitched Shibori pieces, soaking them in the soda/salt solution and then applying the dye with a syringe. They were, of course wet when the dye was applied, cold that explain the stronger colour -- not according to the module notes, instead the patterning should be softer. The colour too?


Then I tried applying the strongest mixture to more prepared stitched Shibori pieces, soaking them in the soda/salt solution and then applying the dye with a syringe. They were, of course wet when the dye was applied, cold that explain the stronger colour -- not according to the module notes, instead the patterning should be softer. The colour too?

Zigzag Machine Stitched.

Cross-hatched Machine Stitching.

Wavy Vertical Lines Machine Stitched.
These three samples have the tonal range, movement and markings I had hoped for. I also feel, though I've yet to put it to the test, that I could recreate any tones within the sample range. Such a relief! Still more work to do, but this is better. Maybe it's my greater experience which is evident.
As I leave each chapter there's always a feeling,together with how much I've learned, of how much more I could have done. It's especially the case with the Shibori element of Chapter 6; perhaps its the amateurishness of my finished pieces or the fact that in retrospect I see how much more disciplined it's possible, and necessary, to be when exploring new techniques.


The two images above show my twelve monoprinted samples. I used pens and various other implements -- cork and polystyrene strips amongst them -- to overprint the fabric in either black or white, The fabric paint was mixed with Fabric Medium and ironed for two minutes when dry to fix it. Interestingly the black fabric paint was more runny than the white which had a souffle-like consistency. Both worked effectively, but in the main black made a more obvious print even on more predominently black fabric.

For this image I have picked out four of the more successful prints, successful in that the printing seems to be an integral part of the design. Other results appear less intended.
Subscribe to:
Posts (Atom)
