Early Paper Making Sessions:
A year or so ago I had the really lovely experience of making paper with Jean Mould Hart. She's expert in this area. She's also a very encouraging teacher who tries to build success into her workshops. On the day our vats were filled and the paper pulp had already been made. All we had to do was don our aprons and follow her demonstration: readying the deckle, swirling the paper pulp with our hand, swooping the deckle through the water, allowing it to drain. That day we produced beautiful paper with paper linters and tried out masks, embossing and fringes.
It is quite another thing to paper-make yourself from scratch. Two books have been helpful: "Paper Pleasure" by Faith Shannon, on the recommended list, and "The Handmade Paper Book" by Angela Ramsay." They complement each other well.
Here below is my assembled kit: 14 litre clear plastic container, B&Q bucket bought for a pound (I have two -- one for light, one for dark), J-cloths,1 litre measuring jug, plastic spoon and deckle. Also a small measuring spoon for dyes and essential rubber gloves. I have added to this a sieve, helpful for straining pulp from water. The processor is a charity shop buy for a £10 and very effective.
 |
| 4:4:1 |
The following four images show the first phase of experimentation. Initially I tore up, and added about a litre of water to between ten and fifteen envelopes with blue/grey/brown patterned insides, leaving it overnight. The next day I processed it in short bursts then adding it to the vat with water to around the two thirds level. The paper in image 2 is the result.
Already I'm learning from error. I was not prepared to see lilac paper, though the next time I used the same pulp I added Brusho and produced turquoise paper instead -- nothing wasted. Secondly, I need to allow the paper to drain fully before releasing the frame. Thirdly, the j-cloths must be smooth otherwise creases and folds show on the dried paper. Not bad though for my first solo attempt, the paper is even in thickness and there are no holes.
 |
| 4:4:2 |
The paper in image 2 seemed rather solid, so this time I made some paper pulp from white tissue hoping to make something lighter, possibly translucent. The tissue wasn't particularly good quality, however the paper is lighter the result of controlling how much pulp I took up on the deckle. There are one or two thin patches and I later read about the importance of "throwing off the wave. This is a quick shake side to side and front to back of the deckle done before all the water drains away. It helps even out the pulp. Another explanation for thin patches is that there isn't enough paper pulp suspended in the vat.
 |
| 4:4:3 |
 |
| 4:4:4 |
Retrieving the lilac pulp proved very simple: I added a teaspoon of Brusho which I diluted and added to the bucket, leaving it overnight. By simply squeezing a small amount of pulp and leaving it to dry it's possible to see what shade it will be. The paper in image 5 was true to test. I can see how easy it is to make a series of papers in different tones.
 |
| 4:4:5 |
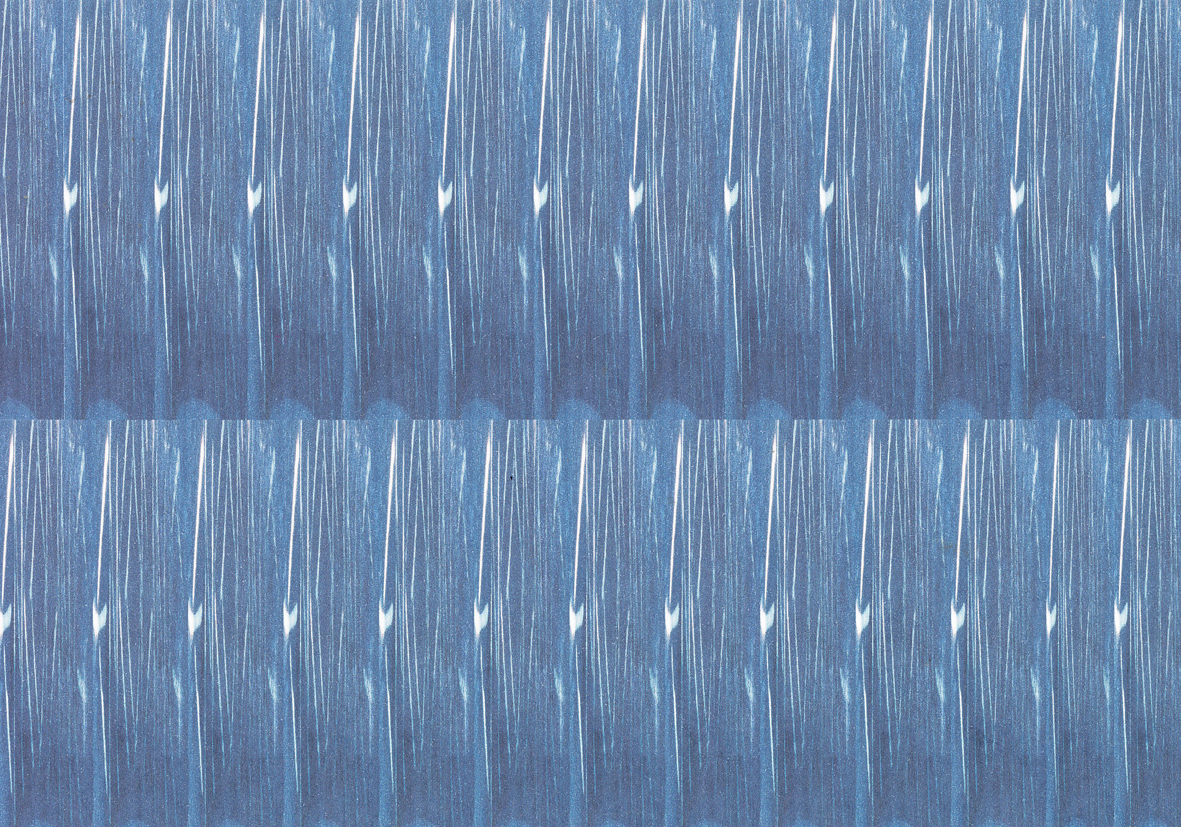
My final experiment in this phase was to try fringing. I layered wet paper from image 3 over dry from image 5 with lengths of string horizontally between. After it had dried a little I pulled it back sharply. Initially the results were spectacular with lovely white ripped tissue contrasting both in colour and texture with the turquoise paper. As it dried, however, the tissue absorbed dye from the turquoise paper, a slightly disappointing result -- the shadows in the photograph are more interesting.
 |
| 4:4:6 |
Next steps:
- More embedding
- Making paper on a range of meshes
- Adding shapes to paper.