Tuesday, 17 February 2015

Chapter 3 : Fabric and Threads


Be careful what you wish for.  Having had such a wonderfully exuberant time creating layers of spirals on paper, now I thought was the time for something more restful.  I wanted to try and capture something of the shadowy moodiness of my spiral staircases.  You'll have to see what you think.

The fabrics I used for most of my experiments were Habotai Silk and Silk Organza, though I have included cotton sometimes as I happened to have some prepared from a previous project and wanted to see how the colours would behave.  In all cases I used Dylon dyes, in Antique Grey, Woodland Brown, Dark Brown and Jeans Blue.

3:1 below shows the result of half strength dye (2oz water to 1tsp. dye powder) on organza and left for just two hours.  The dye is drawn on to the fabric with a pipette, the dryness helping to retain some of the curved shapes, though in the top of the picture the shapes have blurred as the fabric has become flooded with dye.

3:1
I did not use Woodland Brown for this first dyeing session and was surprised how purpley the colours became.  The fabrics used below are organza, Habotai silk and cotton.


3:2
3:3
3:4
I started my second dyeing session having reread Leslie Morgan and Clare Benn's advice on tray dyeing.  Below you can see wet pieces of silk and organza finger twirled closely together in the tray, squirts of dye applied in several colours and the hanks of thread laid on the top.  This time I mixed the dye at double strength (2oz water and 2tsp. of dye powder) and let the fabrics remain for over four hours.

3:5
Below are some of the results of this session.

3:6
3:7
3:8

The next three images show the very subtle effects achieved when gold acrylic paint mixed with fabric binder are mono-printed on to silk and organza.  The fabric was placed on black paper so that the designs could be seen.  The designs I tried were groups of individual corkscrews, long looping spirals continued the length of the fabric and a rosette-style allover pattern.

3:9
3:10
3:11

Below are probably rejects, the colours are disappointing and not really connected to my colour palette.

3:12
3:13


Below, in image 3:14, the results of a lovely shopping expedition at The Knitting and Stitching Show in Harrogate. Beautiful icy blues, metallic threads and beads and sequins.

3:14
 Below in 3:15 and 3:16 are two sets of hand-dyed threads -- complete with beautiful sunshine coming through the conservatory window, Spring's on its way.

3:15
3:16
As I've worked through this chapter I've begun to see in my mind's eye the fine running threads in brown and gilt and icy blue enriching the surface and hopefully these moody fabrics will fit the bill. Having needed a black undersheet to photograph the organza pieces it occurs to me that maybe I will need to consider layering from the very start? Possibly even consider dyeing some velvet and including that in my designs?

Sunday, 15 February 2015

Chapter 2 : Computer Generated Designs


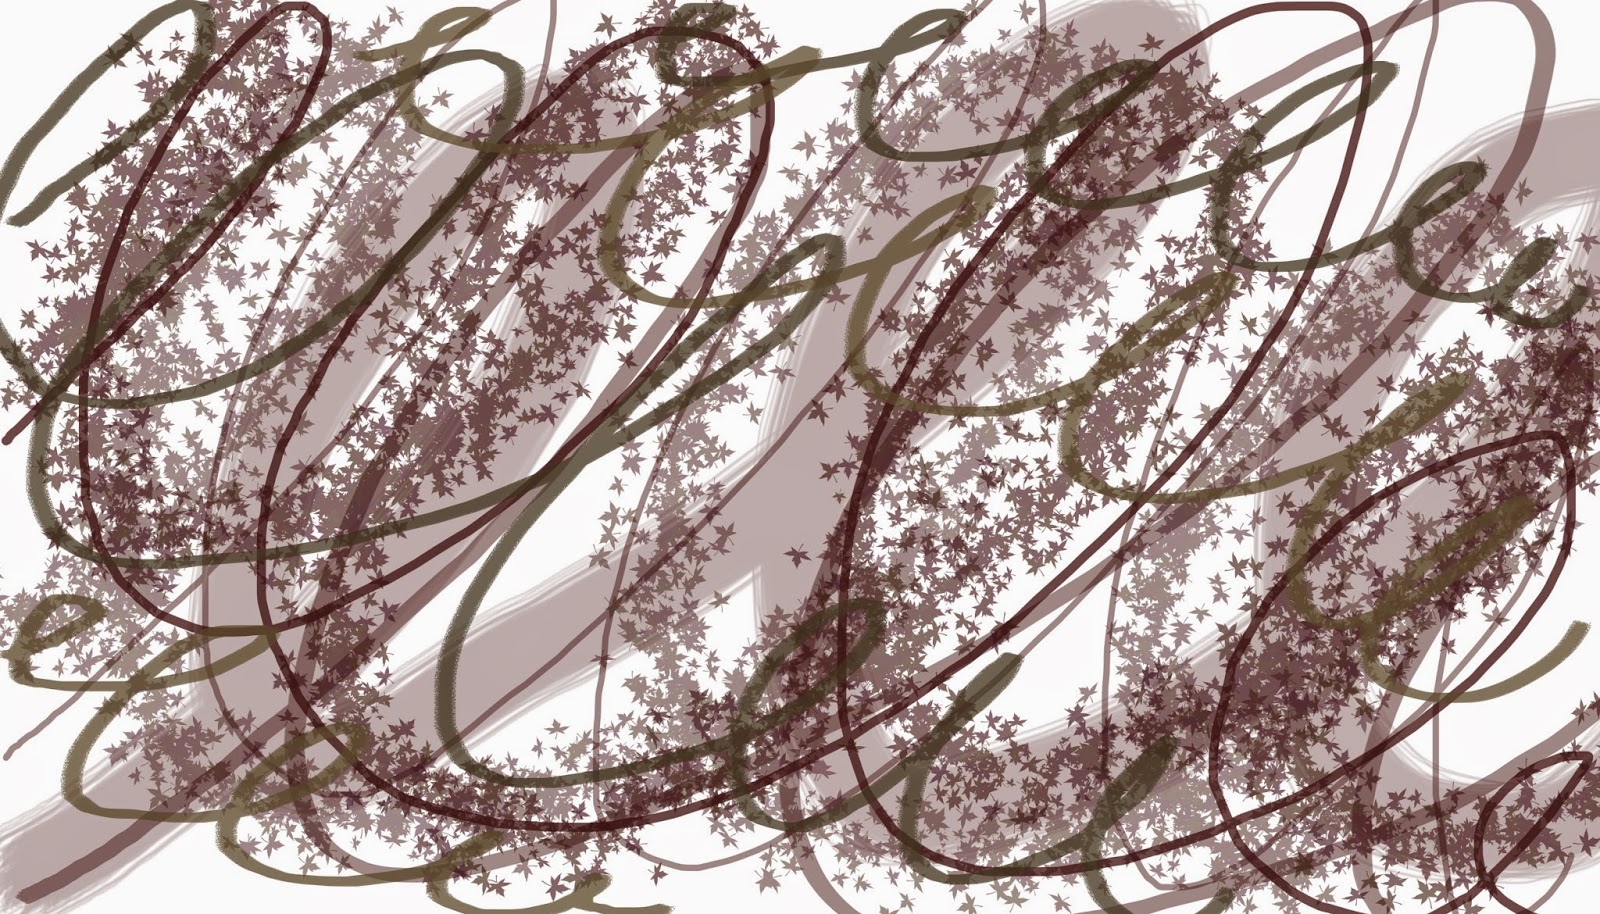
 A few years ago when I took my photography course we spent a session designing, mostly little more than playing, and so it was great fun to return to using the computer in that way. The first image in this sequence (2:21) is one of the experiments from that time and strangely enough the flowing loops and spirals here are what I found myself making on my mono-printing on paper and as you'll see later on fabric.

2:21
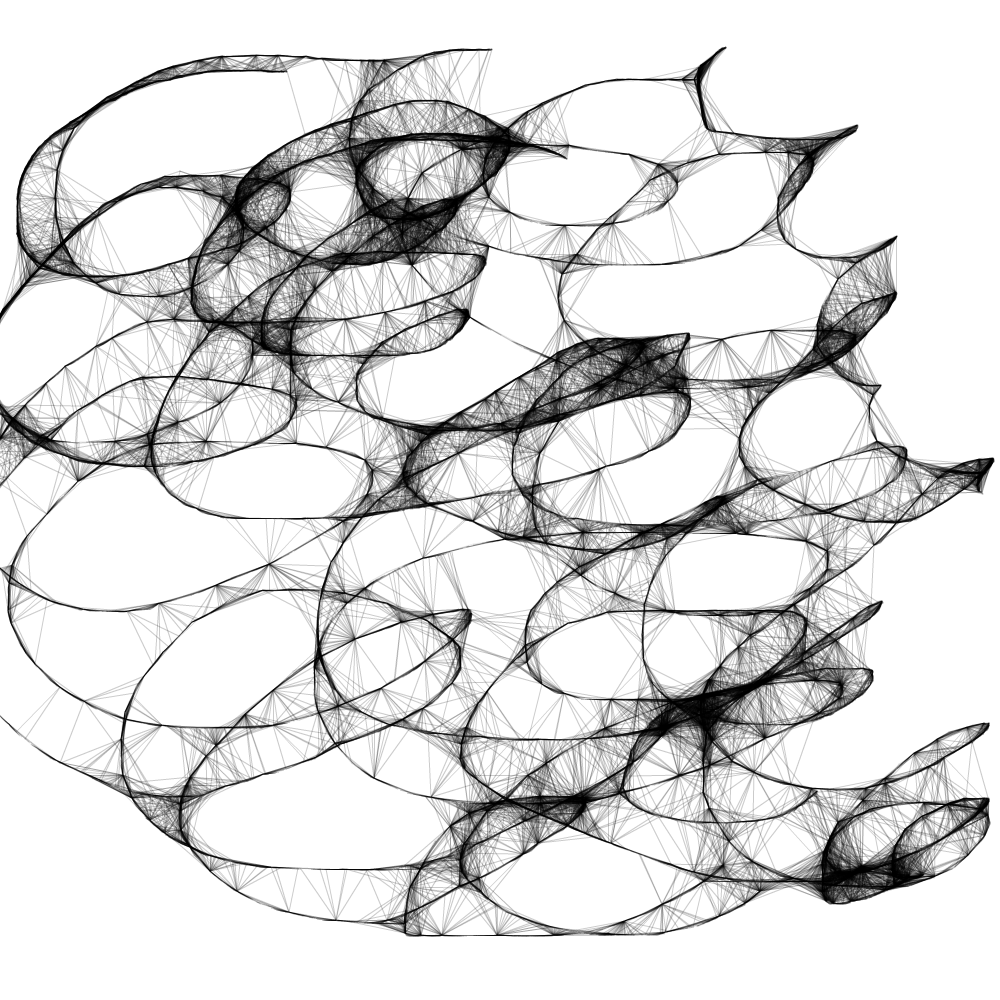
Below is the same  flowing looping line this time tried out using Scribbler Too.
2:22
And now back to Photoshop where I've modified a simple drawing of four spirals and then simply played with a number of treatments.  It's been possible to vary the thickness of the brush from thick and floppy to the delicate mark created by a single hair.  The spirals' tones can be made more muted,(2:24) or gorgeously alight (2:26), fragmented (2:24), beaded (2:28) or deeply textural (2:27).


2:23

2:24
2:25
2:26

2:27
Now for more fragmentation, the spiral ripple in a pool and below 2:29 four examples of the shapes being manipulated - whirled, stretched and contracted.


2:29
2:28

2:30
2:31

2:33
2:32


Monday, 15 December 2014

Chapter 2 : Simple 3D Shapes


I hadn't realised just how versatile corrugated card could be.  Amongst the samples below I've used card from wrapping parcels and corrugations in different scales and designs saved from boxes of chocolates and hot drinks.  They have been painted gold on the rippled side.

Sample 2:16 -- industrial landscape -- shows a range of different spirals, all in the large scale card, rolling the rippled side inside and outside.  Some of the strips are narrow, others wider, and yet others cut on the diagonal.
2:16


Samples 2:17 and 2:18 show a number of spiral combinations. Although it was not my intention to think ahead to which accessory I might design, I have started to think in terms of making a brooch.

It has proved very difficult to glue the samples, so they are mostly held together with pins.

Top left on 2:17 has interlocking spirals.  The other two samples were formed from one piece of card partially cut through in two different widths so that spirals hang down from the foundation spiral

2:17
On the left on 2:18 is a sample spiralling in one direction and then in reverse.
On the right are two scales of corrugated card which are cut on the diagonal and largely mirror the spiral staircase images from my research.
2:18
Below in 2:19 and 2:20 are probably my favourite samples. I like their sense of freedom and expression.

In 2:19 the far right and left samples show tubes of corrugated card wrapped in different ways with different thicknesses of corrugated card.  In the centre the tube has been pierced with a gimlet and narrow strips of corrugated card has been threaded through to create spirals.  The narrowness of the threaded card meant that the two layers came apart in places.

2:19
In 2:20 the right sample continues this idea with three diagonally cut strips making echo spirals up the tube.  On the left are a series of double rings of differing widths and types of card.

2:20

Sunday, 16 November 2014

Chapter 2 : Monoprinting

Monoprinting Session 1

This is the first series of monoprinting I've done for a long time. It's also the first time I've tried to use the technique to interpret movement.  Added to this is the unexpectedness of the results from multi-layering surfaces.  These are just some samples of that first session.  The colours have been mixed using my colour sampling exercise as a guide.


2:7

2:8
2:7 is printed on white paper, 2:8 on brown. On both these sheets I tried to indicate the upright structures on the spiral staircase banisters.  These aren't particularly effective; they illustrate all too clearly that I'm still getting the weight of applying the acrylic paint to the glass.


2:9

2:10
2:9 is printed on brown paper, 2:10 on white. This time I worked with the spiral motif.  As the session continued my skill with the roller and paint improved.  The brown paper sample is most effective; it has a real feeling of movement and the gold edges created by the rubber ended tool I used give a nice feeling of highlight against the brown and blue background.  The brown paper's absorbent quality tended to blur what looked like nice sharp shapes on the glass.

I've included the white paper sample to demonstrate the effect of putting the mid-blue acrylic over the gold.  Whilst the gold gleams through attractively only small sections make an attractive design.

Monoprinting Session 2

The second monoprinting session and I'm feeling a whole lot more confident with the technique, though there's nothing like seeing work on the scene to make me doubt myself!

All of the samples below are carried out on white paper which gives a brighter finish.

Sample 2:11 is included to show that the samples 2:11 - 2:13 all have a rich brown sponged background.  The gold spirals are not strong enough in colour or design to be either obvious or integrate the two ideas.

2:12 and 2:13 have three or four layers and include two different spirals, one longer looped than the other and almost writerly. I used two different rubber ended tools together to make the shapes. Comparing them with those pieces from the first monoprinting session they are much more complex.

2:11

2:12

12:13
Below 2:14 and 2:15 are my two favourites.  Both have wonderful swirls, and are almost eddy-like. 2:15 was mainly second prints using the left-overs on the glass from 2:14.  I like the boldness of the design and the fact that the white background shows through being criss-crossed in part with mid-turquoise tones.


2:14

2:15

Tuesday, 24 June 2014

Chapter 2 :Design Work

It's been a very long time since I added anything to my blog: the discipline of little and often had quite left me. Hopefully I'm now out of that rut and back into the creative groove.  A trip to the Forum in Norwich this morning has helped.  "Turn the Page artists' book fair 2014" was on: such a wonderful and inspiring exhibition.  The makers only too pleased to discuss their work and allow their books to be handled.

Yet another lull, internet issues a World War 1 commemoration project, a friend's grief . . .

So again here goes . . .

Sian suggested I go with my heart when choosing a selection of images to work with and take my colour scheme from there: ice-blue, cool light grey, dark grey and warm browns.  A feeling of depth and shadow contrasting with lightness and a gleam on edges was something that also struck me about these images. There is a sense of mystery attached to spiral staircases, echoes of T.S. Eliot, though I've yet to find the exact quote I think I recall.

Image 2:1
On closer examination  I also saw deeper shades of petrol blue and copper and gilt tints.  The image below shows a colour matching exercise where I tried to find exact colour matches in magazines and then by mixing acrylics and water colours.  Water colours gave a nice translucence and a bronze metallic rub-on provided the gilt.

Image 2:2
 The papers below are worked on tissue, cartridge and brown paper with acrylic paint, including metallic, ink and crayon using a range of techniques -- spraying, sponging, wiping and rubbing.  In some cases several techniques layered on top of each other.

Image 2:3

Sian also asked me to notice how each example uses spiral in a slightly different way.  So following an internet investigation and discovering a world of (at least to me) advanced maths I'll start with the University of East Anglia spiral staircase from one of my Photo-shopped images -- this is an Archimedes spiral, a 3D spiral on a vertical plane, the spiral travelling counter clockwise.  All the rotations are the same size.

The three other spiral staircases are also examples of Archimedes spirals, and 3D on a vertical plane.  They differ, however, in respect of the size of each rotation -- some large to small, others small to large.


Simple Two Dimensional Shapes

Below are examples of  two dimensional  shapes, warm-up exercises shown in the module notes.  The colour scheme throughout uses soft turquoise, brown and gilt mainly on double sided tissue paper, where the paper is wrapped round wire it is single thickness.

First of all a single twist, followed by reverse twist and finally stepped twist using strips of paper about a centimetre wide, on reflection a little too wide as it tends to tear when under tension.  The paper has a matt finish, whereas all further examples use some gilt paper.  This I find more attractive as it seems to draw attention to the way the design is created, twisted, wrapped or knotted, giving the appearance of movement.

Middle left shows a long single twist which though narrower and therefore doesn't tear is uneven.  Further narrow strips are rolled into rosettes, and next to them wire scraps.  Three bands of twisted tissue are bent and glued in place -- an interesting way of making a textured surface.

On the far right is a sample of two strips knotted together (needing a paper clip to retain the twist) and three looped and knotted strips with tails left hanging.  Under the right light these last produce pleasing shadows.

Finally, two wrapped wire twists which are more closely related to spiral staircases.  The larger has tissue glued on across sections of the wire.  The smaller sample shows a small twist with wires stretching across the page.

Add caption


Spirals using Coloured Papers based on Resource Images


2:5

Sample 1: This spiral is cut from a single circle, the spokes are tissue-covered wire and try to evoke the uprights on the staircase balustrade.

Sample 2: Layers of coloured paper mounted with a similar open design made of covered wire.

Sample 3: Two interlocking blue/brown spirals with serrated edges mimicking stairs, the top one mounted on a bronze/brown disc.

2:6

Sample 4: A smooth-edged circle cut in a spiral, a second spiral cut parallel to the first and serrated.  The second mounted on the first.

Sample 5:  An oval shaped mounted with two offset circles finally mounted by a narrow cut circle.

Sample 6:  A circle with a spiral cut out and mounted with a gilt covered wire spiral.

Sample 7: A felt tip pen spiral studded with punched out tiny circles.


Sample 8 and 9: Two tissue shapes, one rectangular the other a trapezium, folded to created curved "staircases".

Sample 10 and 11:  Two versions of the UEA staircase,  Sample 10 a tube wrapped with a number of gilt covered lengths of wire.  Sample 11 a tube which has been cut so that strips of it become unfurled and then wrapped at intervals with lengths of covered wire.