Thursday, 11 June 2015

Reviewing the Situation


Although I've moved on to the next chapter -- cords -- my mind has kept returning to machine stitchery and trying to understand why I'm so frustrated with it.  As I think I've said before I became rather bogged down in the process and lost sight of the effect I was trying to achieve. 

 Looking at my ideas board it's obvious -- a lightness of touch which the couched sample 4:15 most nearly approaches, the enclosure of spaces creating highlights and shadow.  Perhaps I need to return to printing fabric like the paper sample on the board so that the machine stitching is just a way of emphasizing the spirals, rather than creating them.

Ideas Board

Monday, 1 June 2015

Chapter 4 : Machine Stitchery

I've really had to persevere with this, looking back at my Module 2 machine stitching to reconnect with the designs I was able to make then.  I've reread  and covered my machine manual in post it notes and created fragmentary samples.  Through doing these I've very gradually felt more adept, though I can understand why it's suggested that 10,000 hours practice are needed to become good at any skill.

There are so many aspects to consider when machine stitching: good light, relaxed shoulders, smooth movement of the embroidery ring, footwear -- trainers were not a success.

Then there's the innumerable thread and needle combinations, to say nothing of tension, an issue not likely to help those shoulders.

Those delicious colour combinations hovering in my imagination cannot be translated without all of the above being right.  Maybe I forgot to breathe!

 In essence I suppose what I'm saying is that I'm trying to achieve a piece of cloth which looks intended.  I neither expect nor want uniformity in my spirals and whirls, but something fluid and expressive, something nearer to my hand stitching results, which I felt were responsive to the cloth and the markings on it, not sitting on the surface the way many of the samples below are.  And, of course, this brings me neatly back to daily practice and beginning to accumulate those 10,000 hours.

4:5
4:5 above shows simple spiralling swirls.

4:6
4:7

 4:6 and 4;7 show interlocking spirals with a closely matching thread.

4:8
4:8 shows the effect of increasing the top tension whilst using the same interlocking spirals..  The thread this time contrasts with the fabric.

I like the impression of tracery on the above three samples, or maybe it;s a akin to rock art.


4:9

4:10
More samples of tight top tension and very loose lower tension. In sample 4:9 the lower bobbin was filled with metallic thread, the upper a near match for the fabric which emphasizes the glinting marks. In 4:10 the top thread has simply come away -- a pretty effect, but not very stable.

The samples 4:11 - 4:15 illustrate some of the challenges I faced with couching, though they seem to tell a better story than the one I experienced at the time.

The only thread which travelled reasonably happily through the couching foot was the viscose tape (4:13) which the machine stitch caught at intervals creating rounder looking swirls. The sari waste (4:11) and gimp seemed to pull through in a way that created straight lines amongst occasional swirls.  The silk lopi (4:14), whose sheen I liked so much, split for the most part though the sample below worked quite well. The rounder viscose cord (4:15)was quite effective because the machine movements were larger and even when the stitching doesn't catch it acts like an echo of the cord.

4:11

4:12
4:13

4:14
4:15

4:16
And now for text.  This says "at the turning of the stair".  My design ideas are based on spiral staircases and though the use of text appeals I rather think using it is a whole new area of study.  I've been reading "Text in Textile Art" by Sara Impey and it has felt very tempting to go off on another tangent.  Though I can imagine some text spiralling round a tube of some sort, with my current level of skills the text would need to be embroidered on to a straight piece of fabric or soluble stuff.

The final samples below show combinations of spiral stitches in a range of threads.

4:17

4:18
In both 4:17 and 4:18 the thicker threads create a nice 3D surface contrasting with the subtle tracery of the finer threads.  I'm not entirely sure that the two marry well.  It's also interesting to notice the difference using a frame makes. Whilst a frame was used for the central part of 4:18 the final spiral was stitched without one creating puckers and ripples.

All machine stitching has been done on fabric backed by Stitch and Tear.

And what may you ask of velvet? -- a complexity too far, I decided.

Wednesday, 13 May 2015

Repeating Patterns : Computer and Hand Generated, and some explorations

As you'll see from the numbering this is a return to Chapter 2.  I  have taken a square cropped section from two of the computer generated designs and created an all over pattern.   The new shapes and diagonal rhythms in particular I find rather attractive.


2:34

2:35

2:36

2:37

The design below is one of the hand-drawn spirals from Chapter 1 made into a repeating pattern.


2:38
Below are two versions of this idea worked on soluble fabric. 2:39 is worked in dyed sari waste, 2:40 is again worked in sari waste but with the inclusion of velvet circles and some hand stitching. The velvet, which I'd included (against advice) to add depth and richness suffered through the washing process.

2:39

2:40
A further experiment using dyed gimp to create the spirals in 2:38 with narrow velvet inserts was again disappointing.  I had hoped to produce a lace-like fabric, but the thread colour I chose (light grey) dominated.  Definitely a case of trying to run before I can walk!  Couching the spirals on to a fabric is probably a better technique.

Tuesday, 12 May 2015

Chapter 4 : Decorate with Stitchery

There is something about the comfort and pleasure of hand stitching.  Not a new observation, I know, but one I enjoyed recognising at the exhibition "Frayed" in February last year.  I hope that these thoughts will echo again when I listen to a talk next month about John Craske at our local bookshop.

Below then are spirals of pleasure and comfort exploring hand-dyed and bought threads on hand-dyed habotai silk, silk organza and patterned cotton.


4:1
 Running stitch and couched spirals.

 4:2
 A number of stretched springs offset in different thicknesses of thread, including fine metallic which was also used to couch the self-dyed gimp.  The design is a response to the monoprinting beneath.

 4:3
 Ready patterned and hand-dyed cotton were the base for this sample.  This time I used the stair edges as the design motif for the stitching.  What appeared on the fabric was a flowerbed!

4:4
This sample began by exploring spirals created by straight lines using a variety of space-dyed threads.  As the piece evolved -- and it may not be finished yet -- I added couching, fly stitch and wrapped spirals more reminiscent of barbed wire than staircases.

Tuesday, 17 February 2015

Chapter 3 : Fabric and Threads


Be careful what you wish for.  Having had such a wonderfully exuberant time creating layers of spirals on paper, now I thought was the time for something more restful.  I wanted to try and capture something of the shadowy moodiness of my spiral staircases.  You'll have to see what you think.

The fabrics I used for most of my experiments were Habotai Silk and Silk Organza, though I have included cotton sometimes as I happened to have some prepared from a previous project and wanted to see how the colours would behave.  In all cases I used Dylon dyes, in Antique Grey, Woodland Brown, Dark Brown and Jeans Blue.

3:1 below shows the result of half strength dye (2oz water to 1tsp. dye powder) on organza and left for just two hours.  The dye is drawn on to the fabric with a pipette, the dryness helping to retain some of the curved shapes, though in the top of the picture the shapes have blurred as the fabric has become flooded with dye.

3:1
I did not use Woodland Brown for this first dyeing session and was surprised how purpley the colours became.  The fabrics used below are organza, Habotai silk and cotton.


3:2
3:3
3:4
I started my second dyeing session having reread Leslie Morgan and Clare Benn's advice on tray dyeing.  Below you can see wet pieces of silk and organza finger twirled closely together in the tray, squirts of dye applied in several colours and the hanks of thread laid on the top.  This time I mixed the dye at double strength (2oz water and 2tsp. of dye powder) and let the fabrics remain for over four hours.

3:5
Below are some of the results of this session.

3:6
3:7
3:8

The next three images show the very subtle effects achieved when gold acrylic paint mixed with fabric binder are mono-printed on to silk and organza.  The fabric was placed on black paper so that the designs could be seen.  The designs I tried were groups of individual corkscrews, long looping spirals continued the length of the fabric and a rosette-style allover pattern.

3:9
3:10
3:11

Below are probably rejects, the colours are disappointing and not really connected to my colour palette.

3:12
3:13


Below, in image 3:14, the results of a lovely shopping expedition at The Knitting and Stitching Show in Harrogate. Beautiful icy blues, metallic threads and beads and sequins.

3:14
 Below in 3:15 and 3:16 are two sets of hand-dyed threads -- complete with beautiful sunshine coming through the conservatory window, Spring's on its way.

3:15
3:16
As I've worked through this chapter I've begun to see in my mind's eye the fine running threads in brown and gilt and icy blue enriching the surface and hopefully these moody fabrics will fit the bill. Having needed a black undersheet to photograph the organza pieces it occurs to me that maybe I will need to consider layering from the very start? Possibly even consider dyeing some velvet and including that in my designs?

Sunday, 15 February 2015

Chapter 2 : Computer Generated Designs


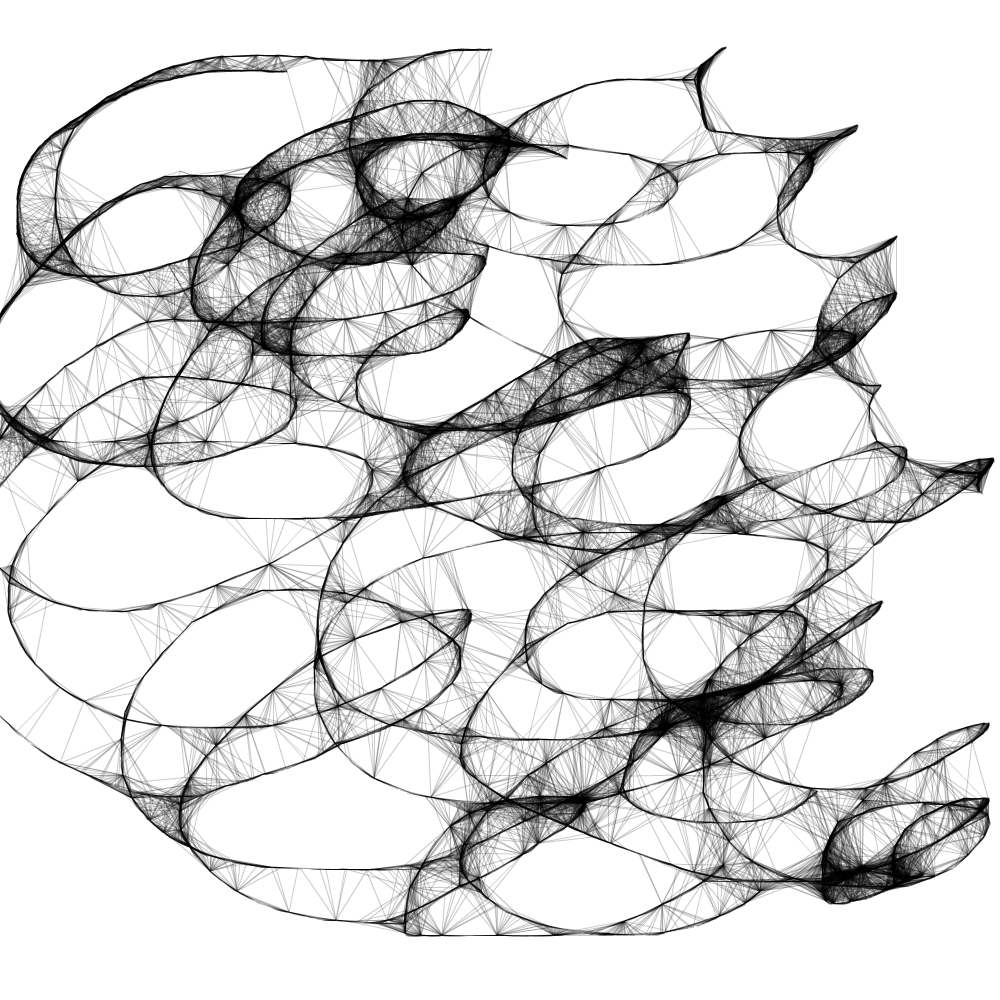
 A few years ago when I took my photography course we spent a session designing, mostly little more than playing, and so it was great fun to return to using the computer in that way. The first image in this sequence (2:21) is one of the experiments from that time and strangely enough the flowing loops and spirals here are what I found myself making on my mono-printing on paper and as you'll see later on fabric.

2:21
Below is the same  flowing looping line this time tried out using Scribbler Too.
2:22
And now back to Photoshop where I've modified a simple drawing of four spirals and then simply played with a number of treatments.  It's been possible to vary the thickness of the brush from thick and floppy to the delicate mark created by a single hair.  The spirals' tones can be made more muted,(2:24) or gorgeously alight (2:26), fragmented (2:24), beaded (2:28) or deeply textural (2:27).


2:23

2:24
2:25
2:26

2:27
Now for more fragmentation, the spiral ripple in a pool and below 2:29 four examples of the shapes being manipulated - whirled, stretched and contracted.


2:29
2:28

2:30
2:31

2:33
2:32